Recovered treasures: How to build raised beds from materials after renovation?
Today I would like to share with you my latest project: building a raised bed using materials from renovation. Having a few concrete curbs, remnants of wooden edgings, and bucket foil from previous renovation works, I decided to use them in creating a functional space for growing vegetables and fruits. This fascinating challenge not only allowed me to efficiently utilize reclaimed materials but also to create a modern and practical bed, serving as an oasis for producing healthy food.
The project also aims to test how long my construction will last, and what benefits cultivation in raised beds brings.
I invite you to discover how creativity and a sustainable approach can transform our gardens into vibrant and beautiful places.
Step 1: Designing the Bed
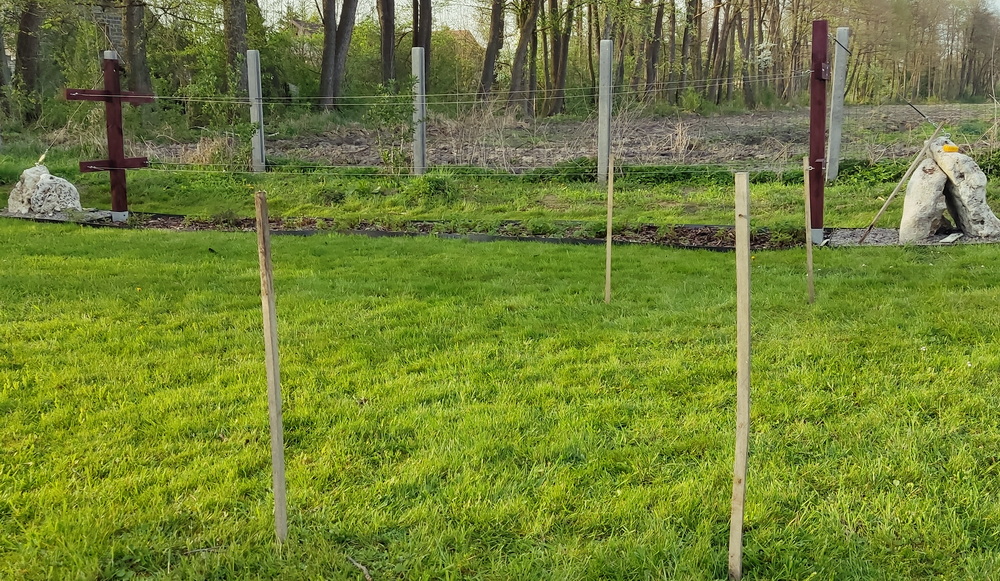
I start with carefully designing the bed, taking precise measurements to ensure optimal space for plant care and convenient access during harvesting. On the designated area where the bed is to be created, I mark the edges with stakes to delineate its boundaries. My bed has been designed to measure 3m x 1m.
Step 2: Preparation of the Area for the Bed
After marking the area, I carefully dug up the turf and weeds, removing them along with their roots to prevent their regrowth.
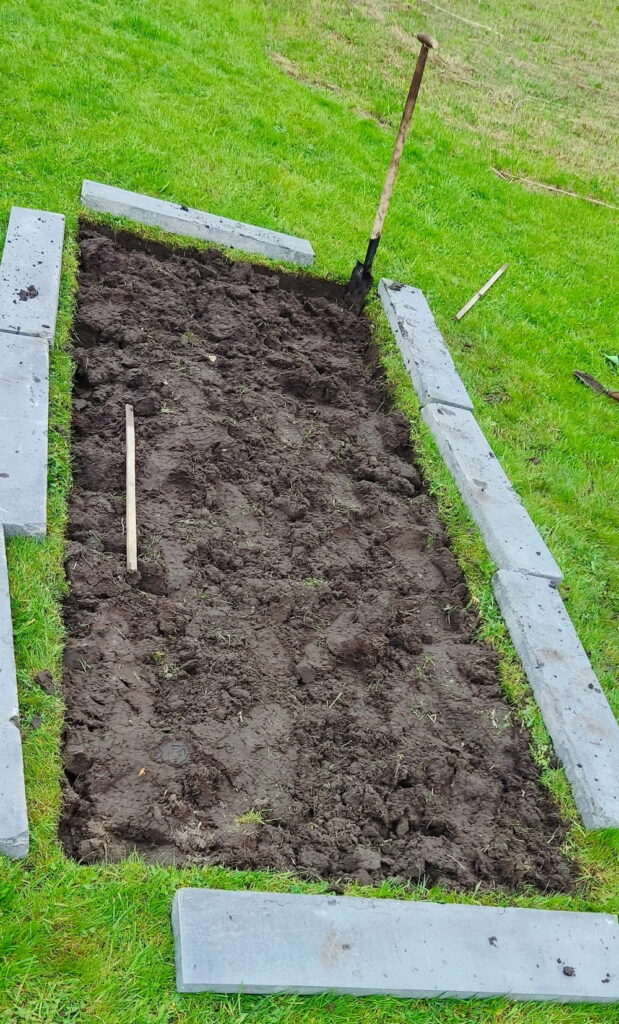
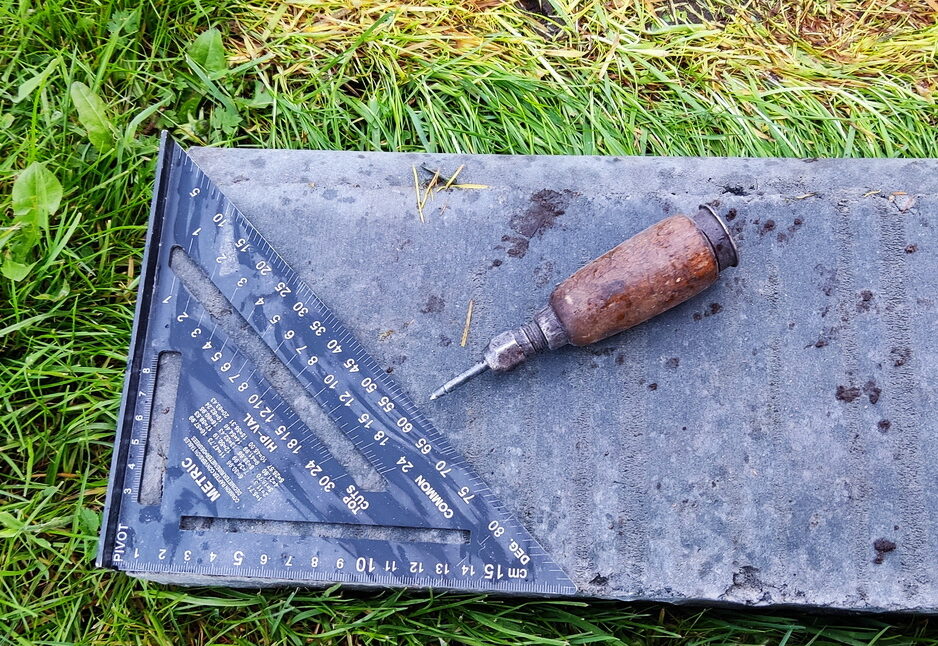
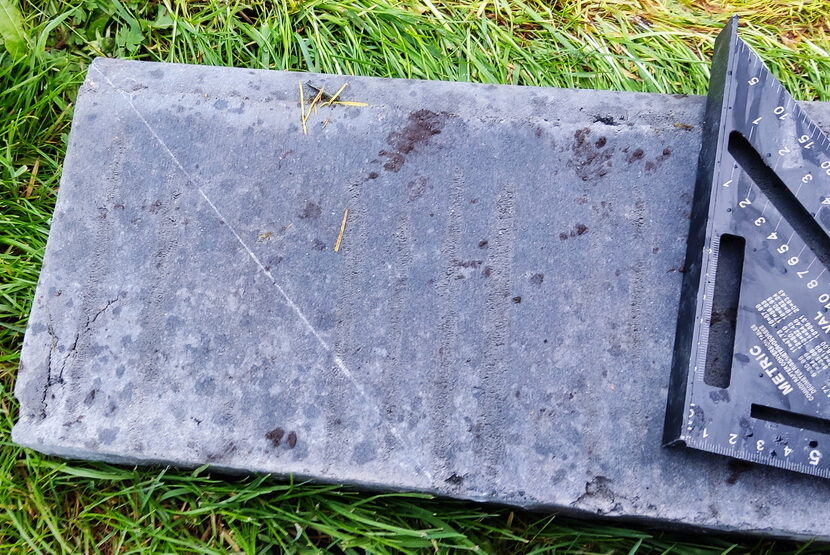
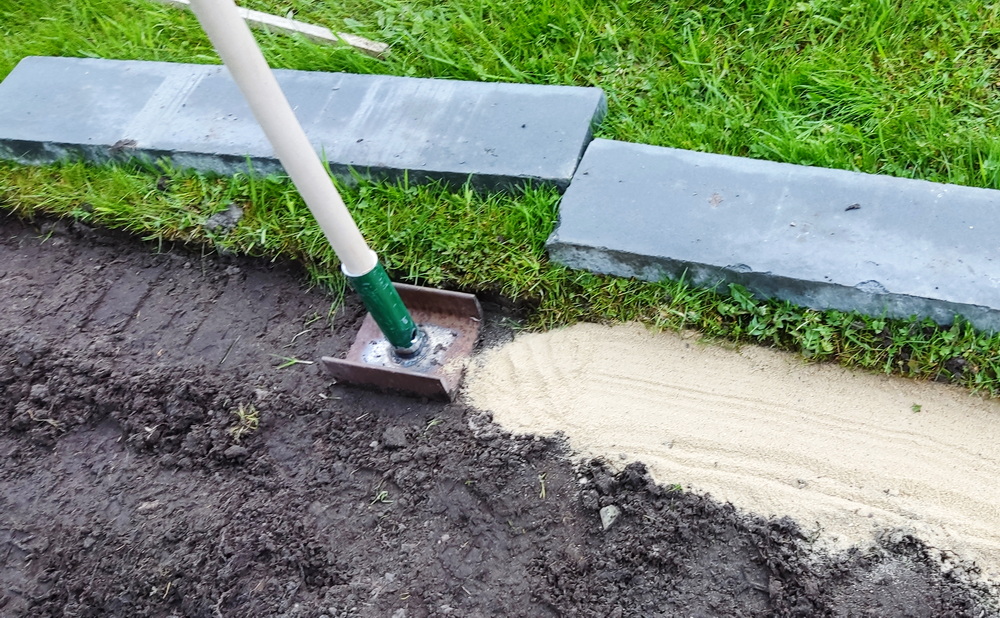
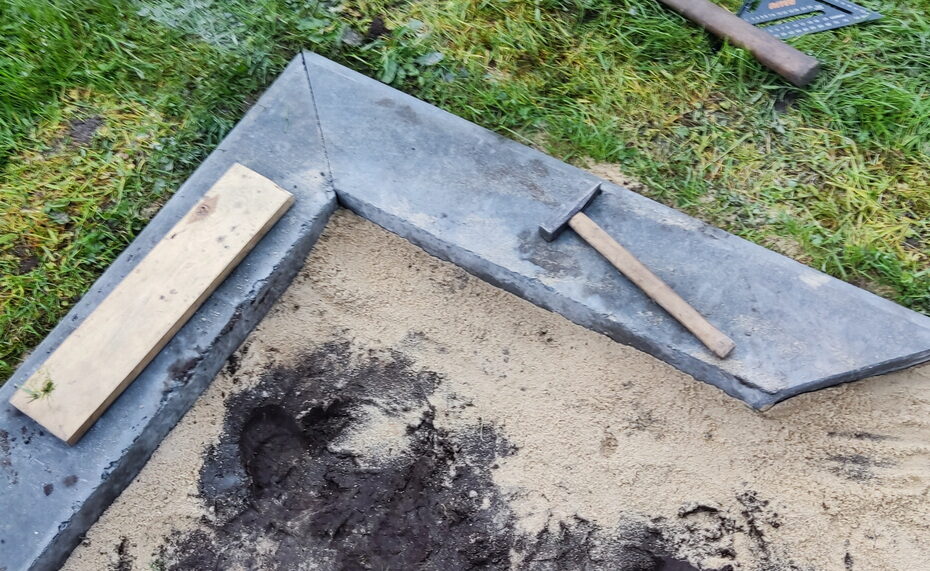
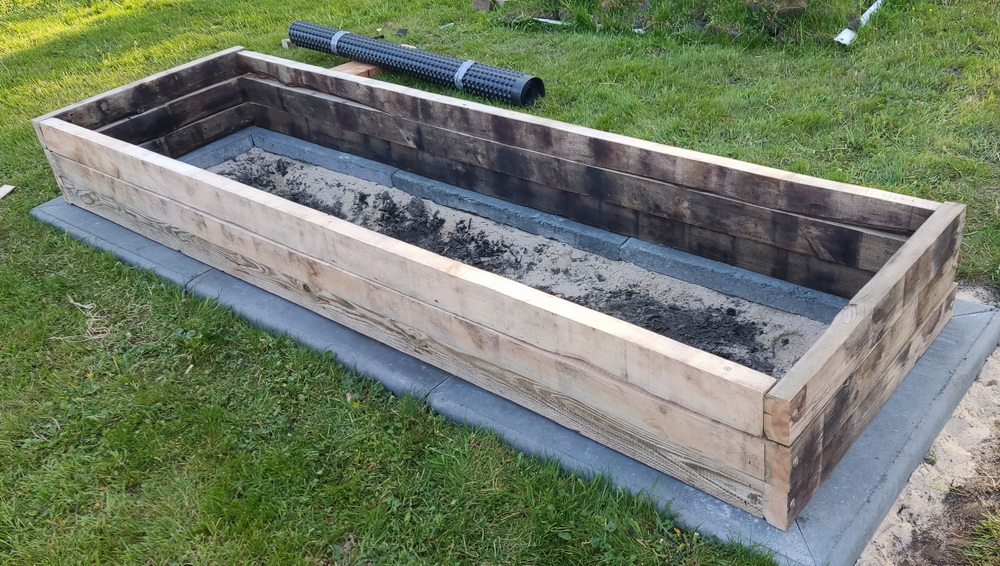
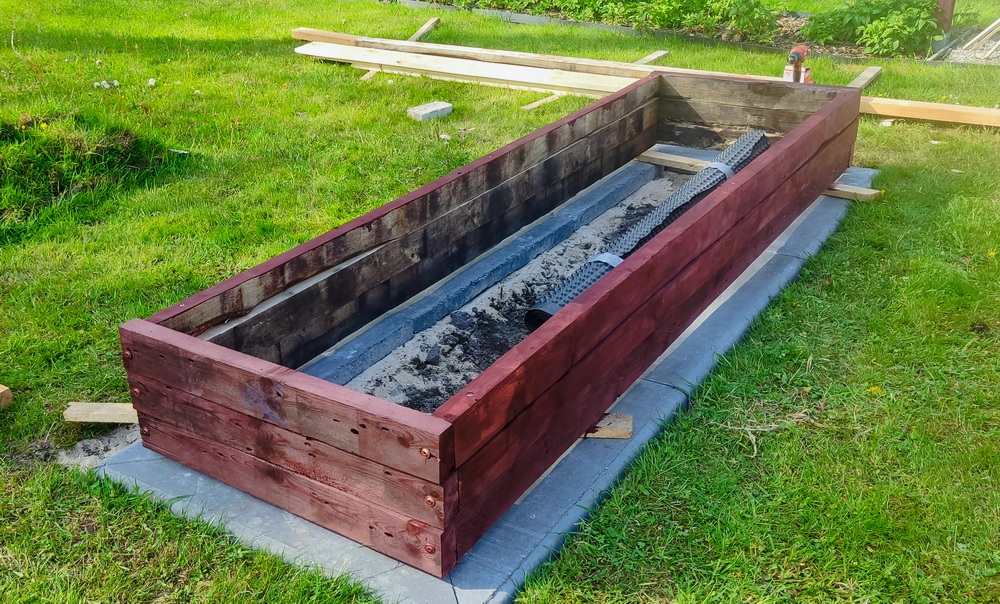
Step 3: Trimming and Laying the Curbs
After clearing the area, I compacted the soil and added a layer of sand to ensure a solid foundation for the curbs. Then, I proceeded to trim and lay the concrete curbs, which serve as a stable base for my bed. Additionally, they act as a protective barrier for the wooden edges, preventing damage during lawn mowing.
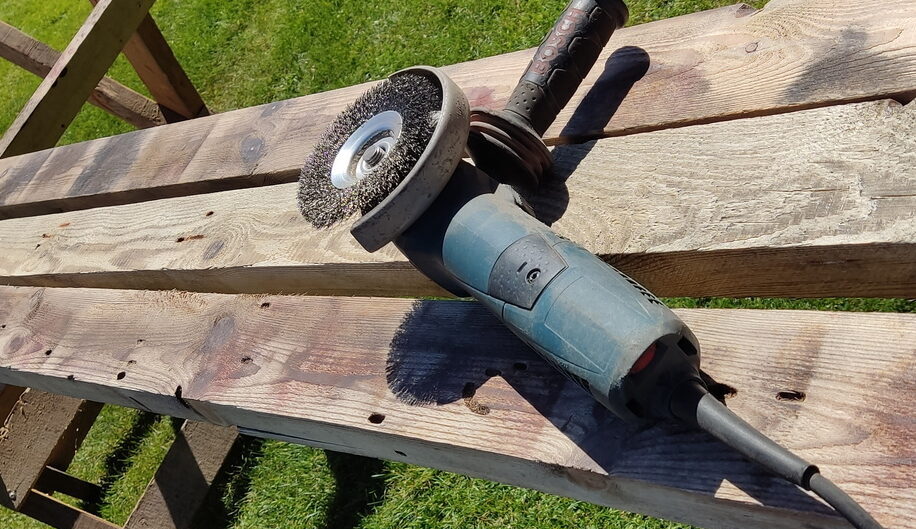
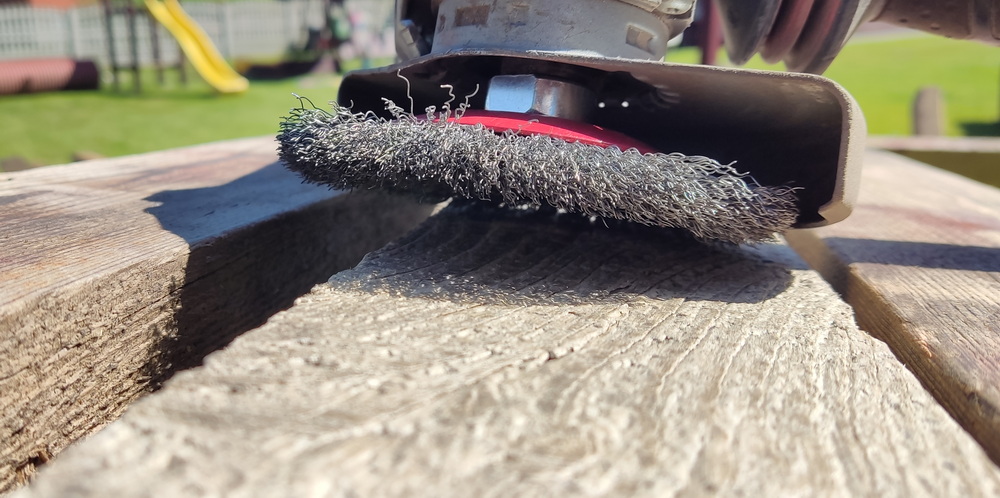
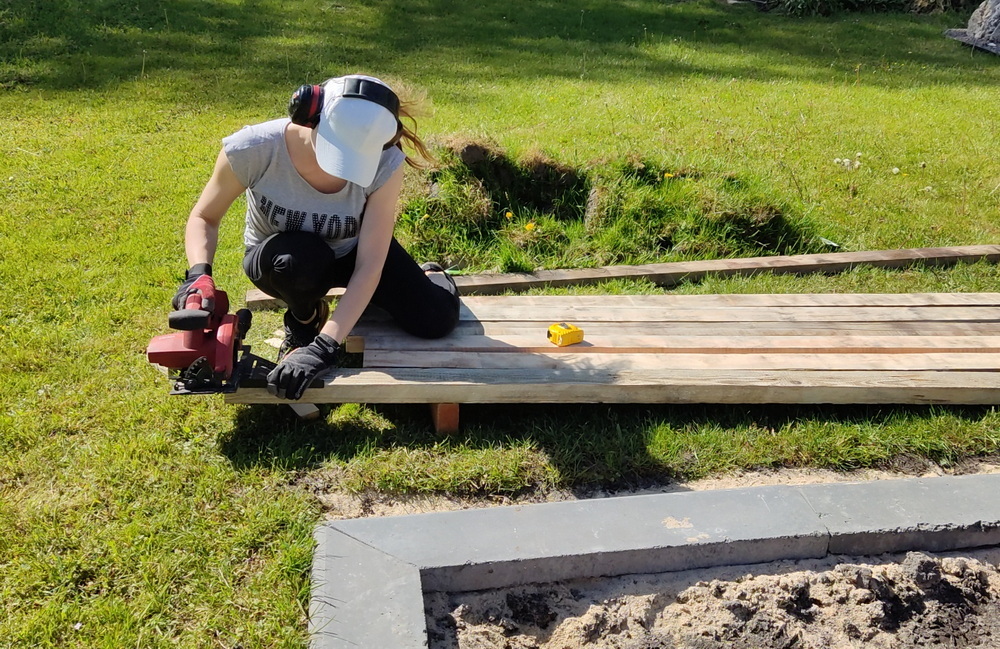
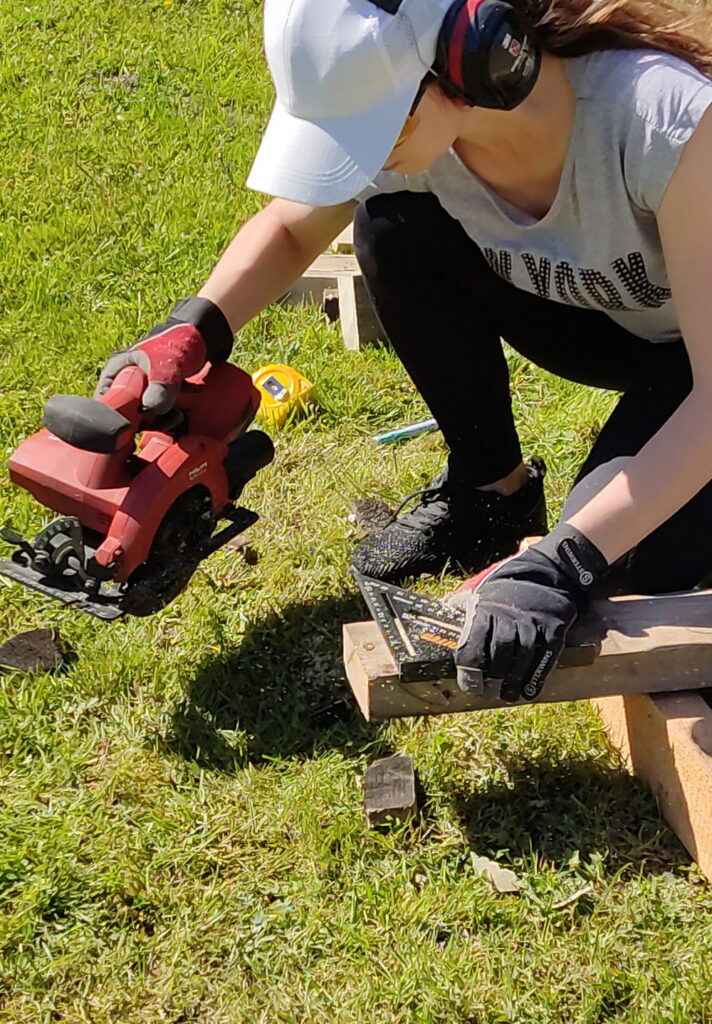
Step 4: Preparation of Wooden Edgings
After cleaning the wooden edgings from dirt, I proceed to their preparation. The edgings, measuring 50×100 mm, are precisely cut to lengths of 2.70 m and 80 cm. After precise cutting, one side of the edgings is carefully sanded with sandpaper to ensure a smooth and aesthetic surface.
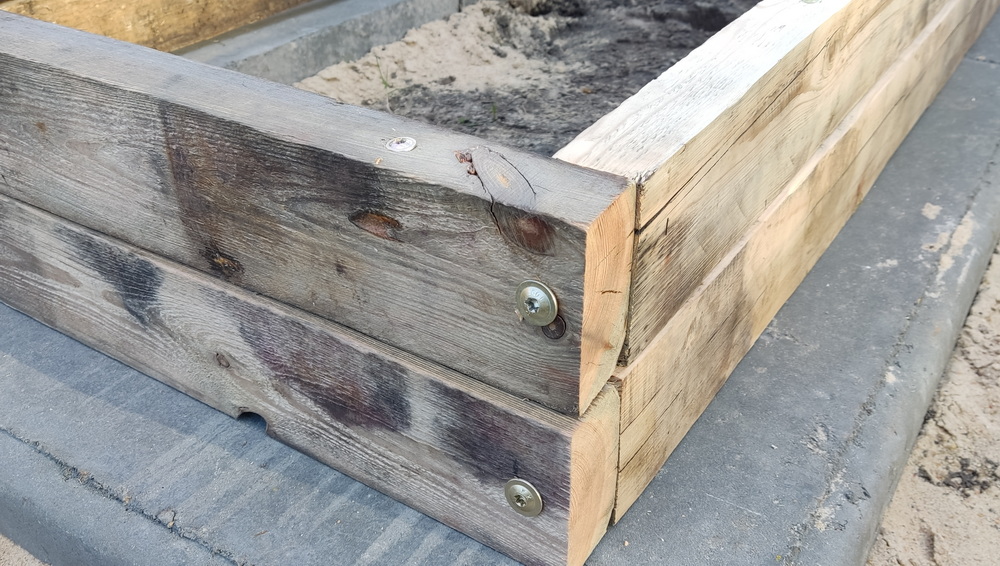
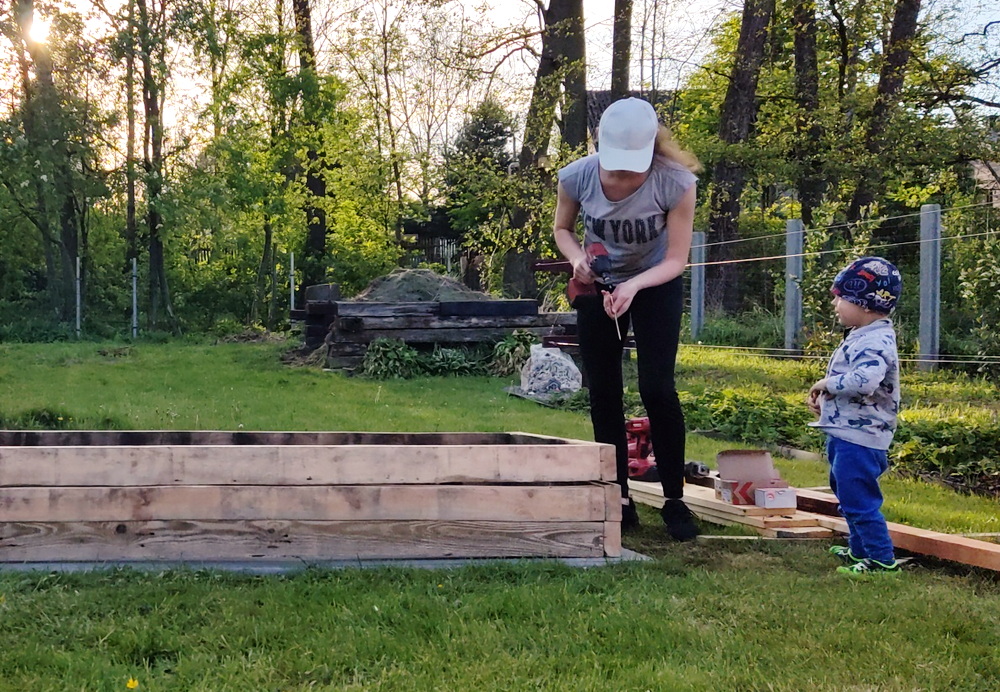
Step 5: Assembly of the Bed
The next step is to lay the wooden edgings and securely screw them together. I used long carpentry screws (8×100 for longitudinal connections, 6×160 for connections with the previous layer).
Step 6: Painting the Wooden Edgings
To protect the wood from atmospheric conditions and give the bed an aesthetic appearance, I painted the edgings on the outside with wood preservative.
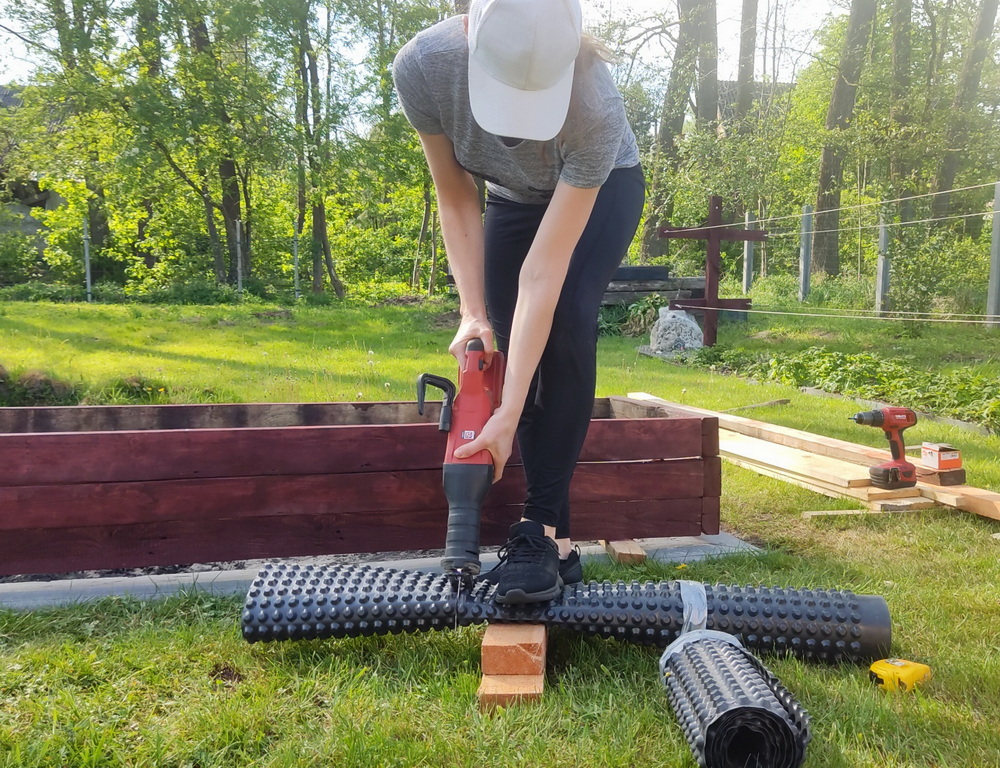
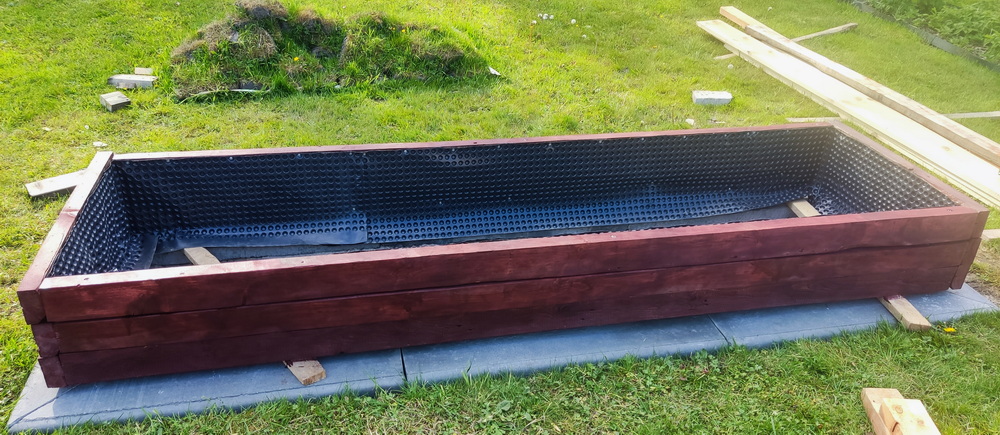
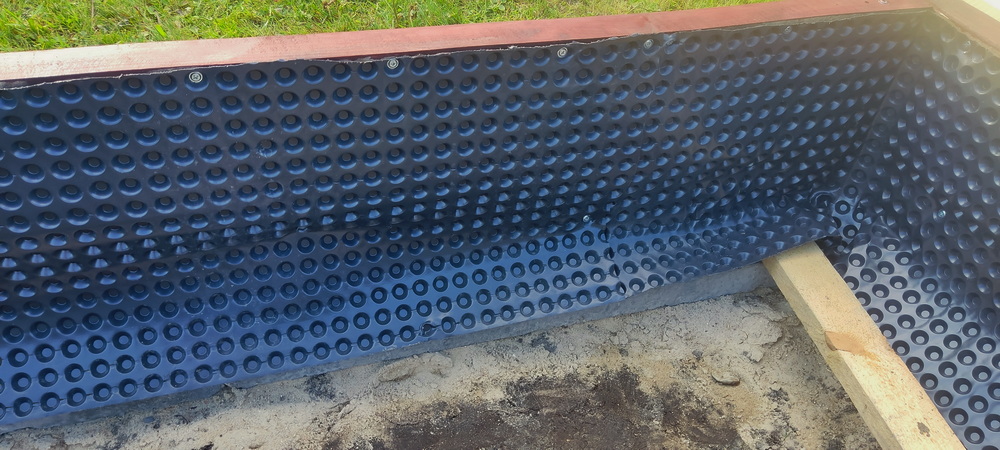
Step 7: Securing the Wood with Plastic Foil
Next, using the bucket foil I had from the renovation, I proceeded to cut it to the appropriate size to perfectly fit the dimensions of my bed. In this way, I secured the edgings from direct contact with the soil.
Step 8: Filling the Bed with Soil
I filled the prepared bed with soil.
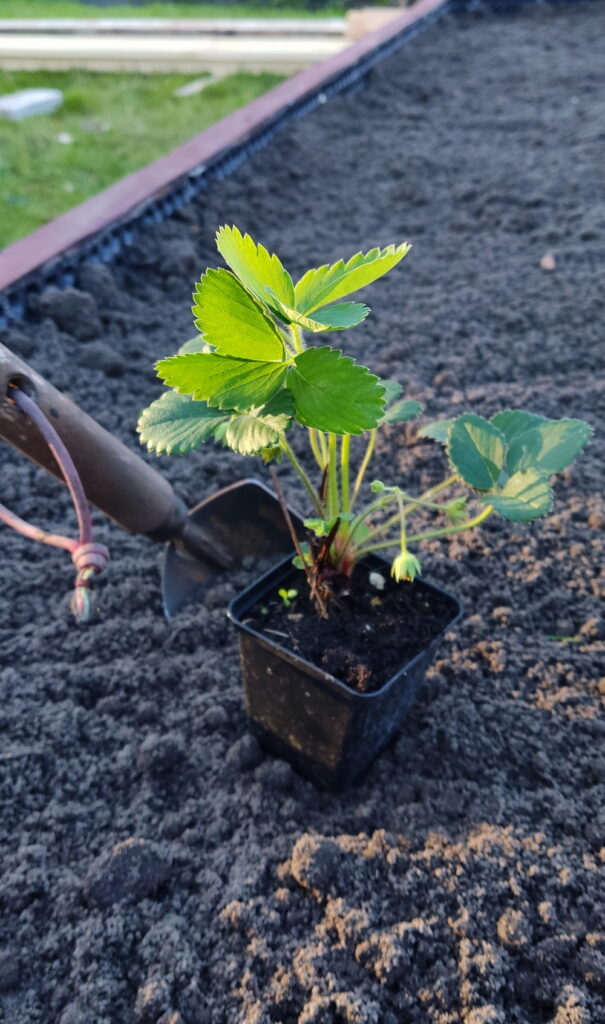
Planting
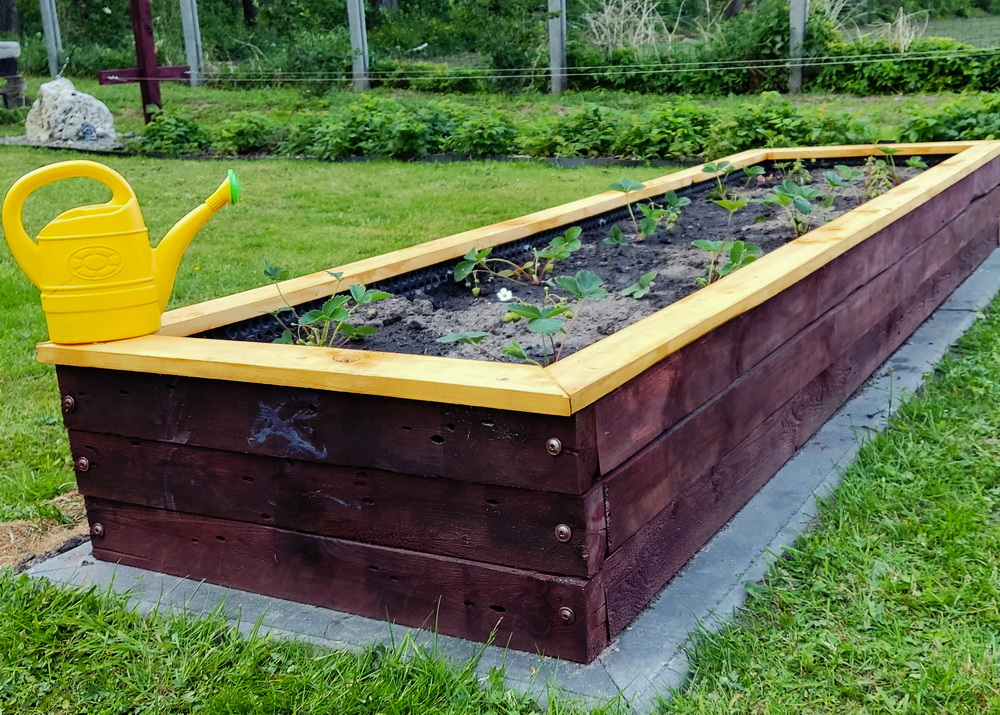
The final, yet crucial step is planting selected vegetables or fruits. I opted for everbearing strawberries, which my whole family loves.

I finished the bed with decorative trim. It prevents water from seeping between the edgings and the bucket foil. I painted them a lighter color to give them character.

In conclusion, I would like to emphasize that building a raised bed from reclaimed materials is not only an environmentally friendly and cost-effective solution, but also a satisfying creative project. Utilizing materials from renovation not only allowed me to create a functional space for plant cultivation but also gave a second life to these elements that could have otherwise been discarded. I believe that my experience with building this bed will inspire you to take a creative approach to gardening and utilize available resources in a sustainable manner. I invite you to follow further projects on my blog and share your ideas for environmentally friendly plant cultivation!
Check out…