DIY Garden Tap – Durability and Aesthetics!
Together with my husband, we built a stainless steel DIY garden tap that has significantly improved our watering routine. It provides quick and convenient access to water exactly where it’s needed—without the hassle of dragging long hoses or carrying watering cans. The sturdy stainless steel construction ensures durability and resistance to weather conditions, so the tap will serve us well for many seasons. Additionally, its clean and stylish appearance adds order and visual appeal to the garden space, becoming an eye-pleasing detail. This solution not only enhanced the comfort of daily plant care but also brought us a great deal of satisfaction during the building process.
How did we make a stainless steel garden tap? Step by step
How did we make a stainless steel garden tap? Step by step
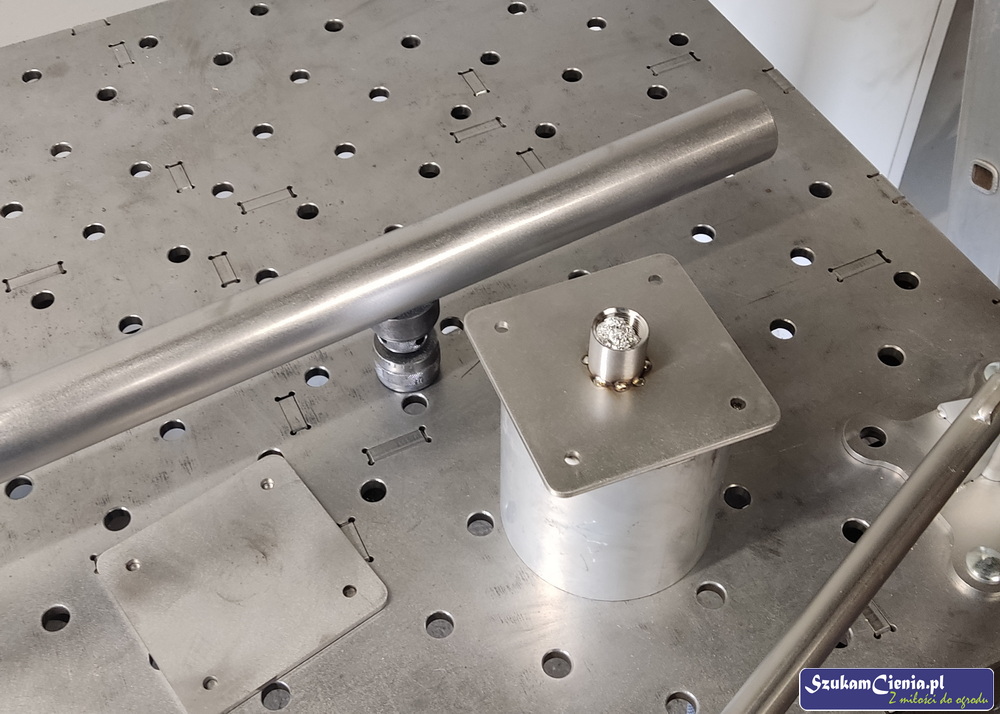
First, we gathered all the necessary components: 1 meter of stainless steel pipe (Ø50 mm), a bib tap, ¾” and ½” weld-on pipe fittings, and a custom laser-cut base plate.
The construction began with welding the fitting to the base plate.
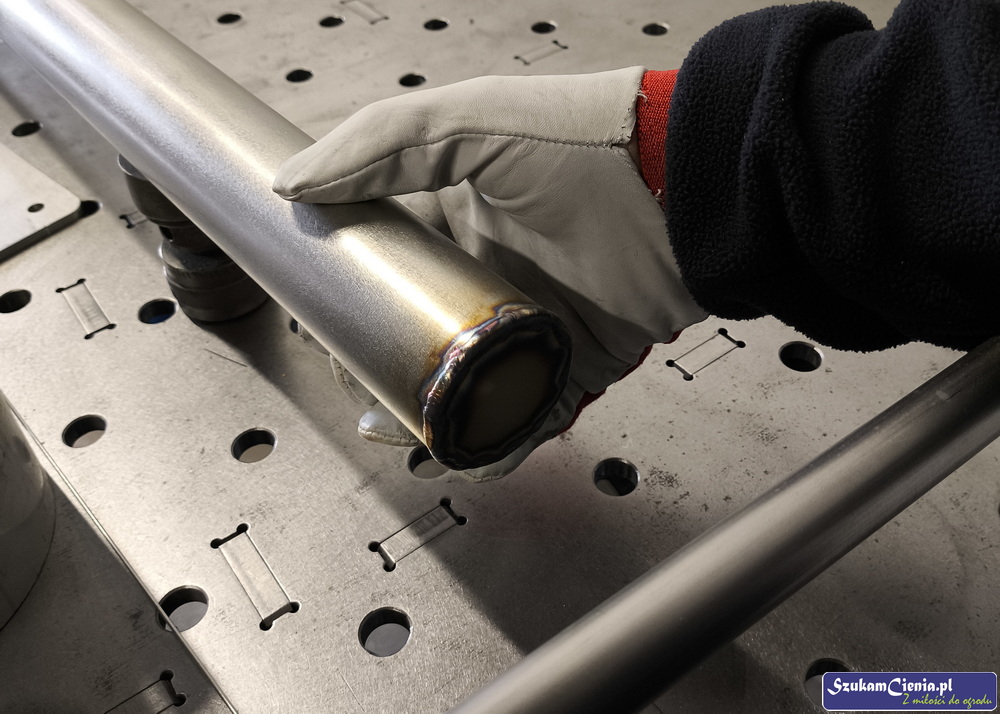
To prevent oxidation of stainless steel during welding, I shield all heat-affected areas with argon gas—both inside the pipe and around the base and fittings. The shielding gas displaces air near the weld, preventing oxidation. Without this protection, the steel in those areas could quickly start to corrode.

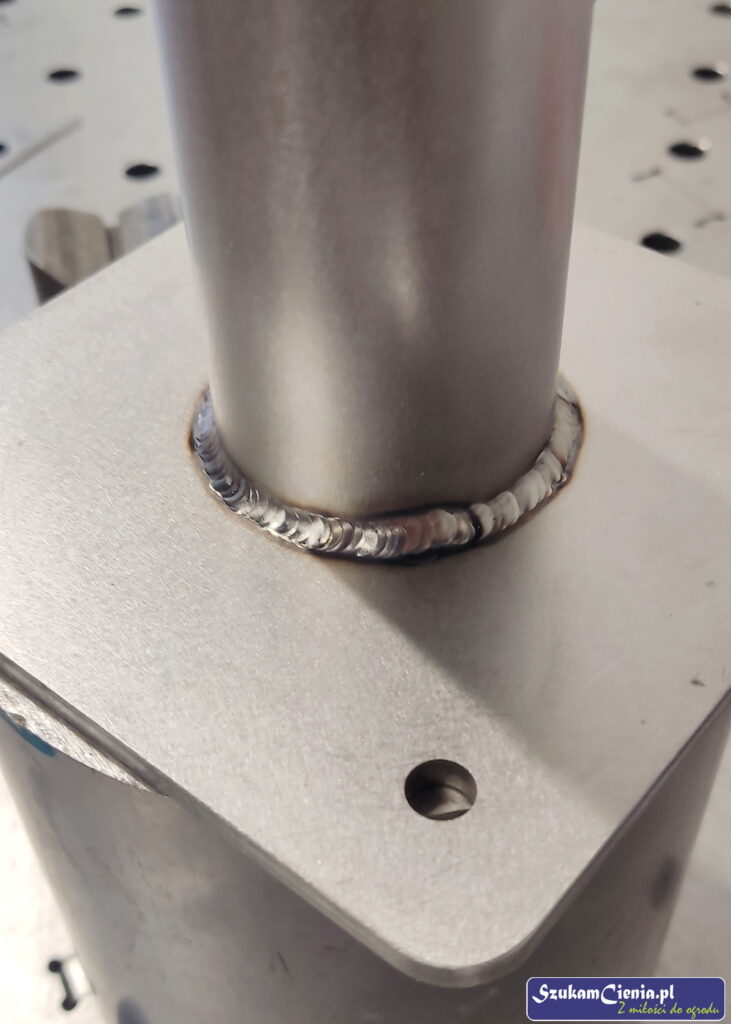
In our project, the entire pipe will ultimately be filled with water, so all welds must be executed with high precision. After completing the welding, we tested the system’s tightness by connecting the tap to an air compressor. Only after confirming that all connections were leak-proof did I proceed to grind the welds for a clean, aesthetic finish. Following the grinding, we repeated the leak test.
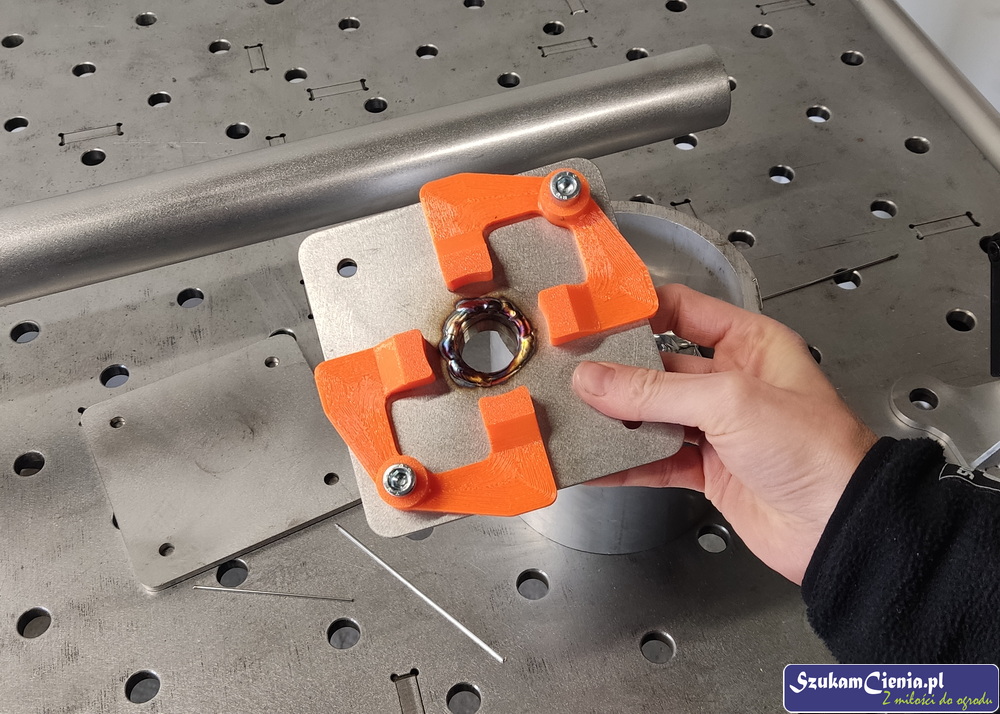
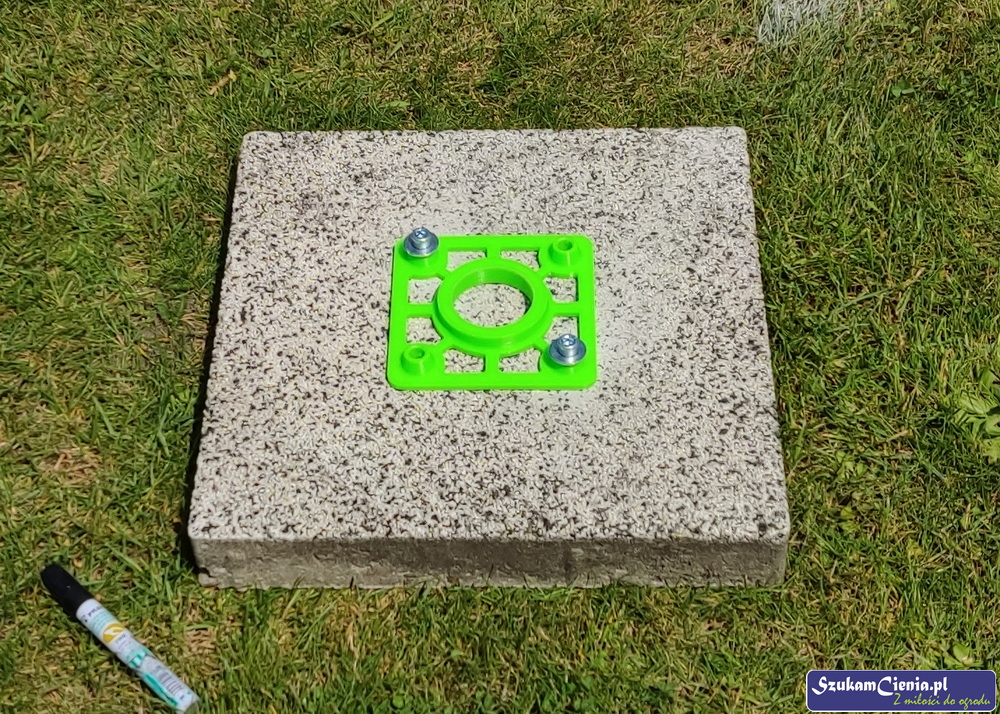
Centring the base and vertical pipe can be somewhat challenging, so my husband helped by designing and printing a simple but very useful template that facilitated precise alignment of the components.
Using this setup, I tack-welded the pipe in several spots and then removed the template to avoid obstruction during welding.
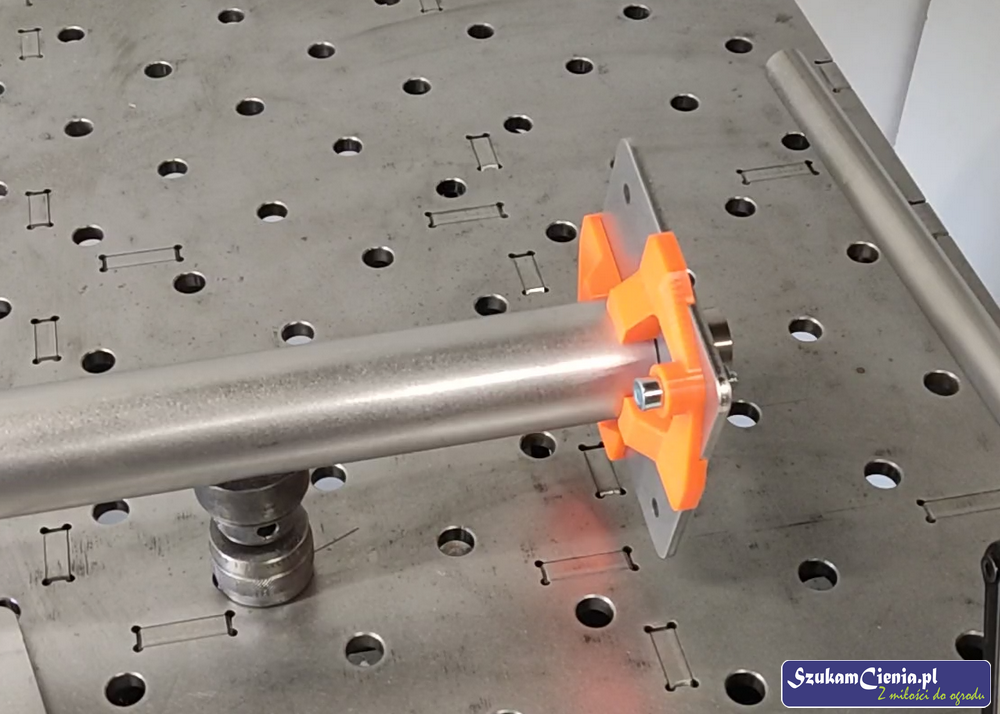
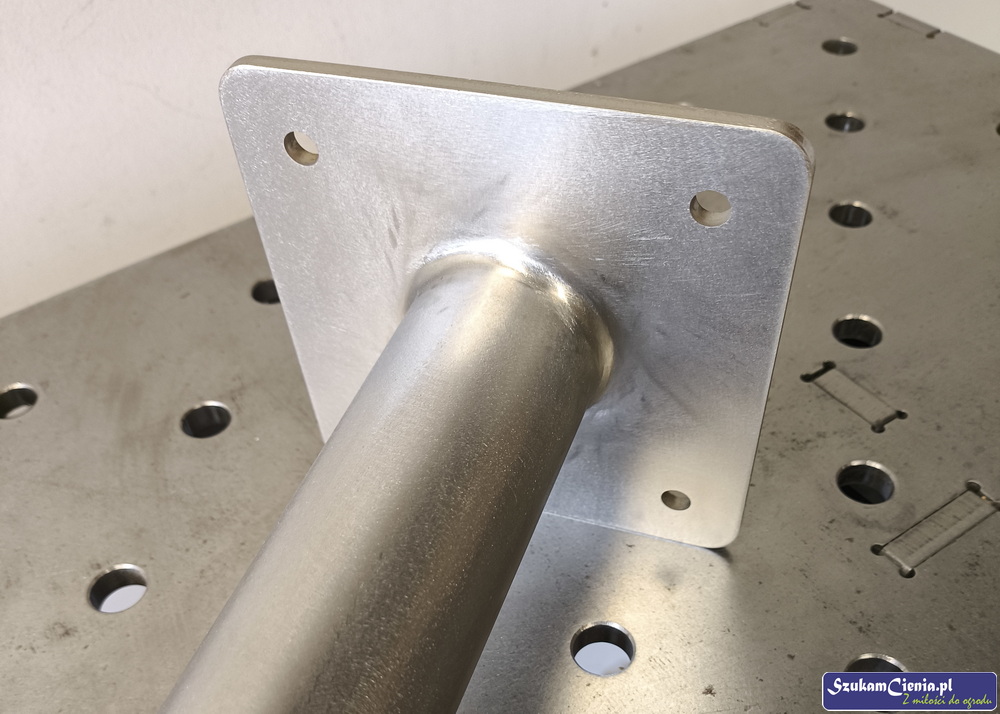
I welded the pipe to the base, ensuring that the entire welded area was shielded with argon gas.
I created the hole using an 18 mm core drill bit. I ground the fitting to precisely match one section of the pipe’s diameter. A smaller gap results in a cleaner weld appearance and better seal. The fitting has a larger diameter than the hole; the excess pipe material left facilitates welding the fitting—reducing heat concentration at the weld area and preventing accidental burn-through of the pipe.
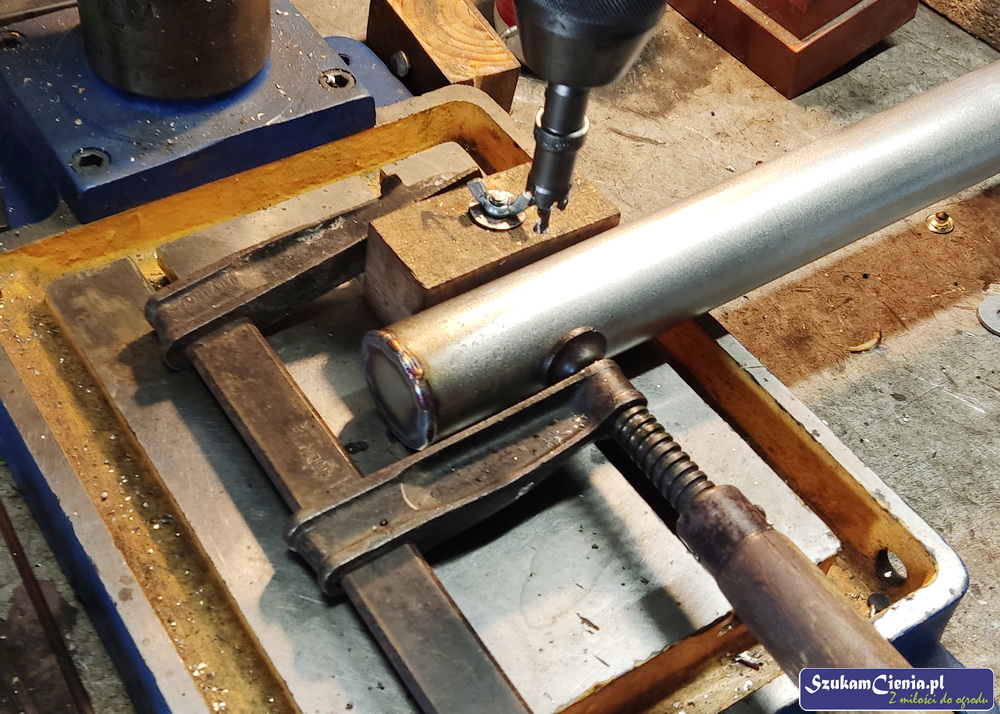
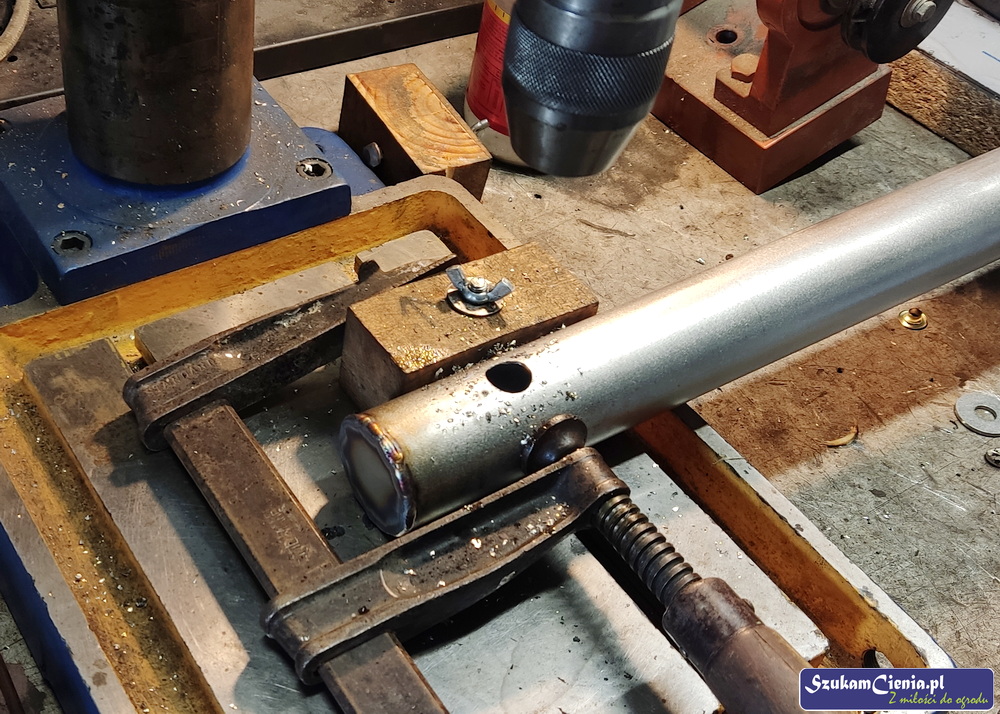
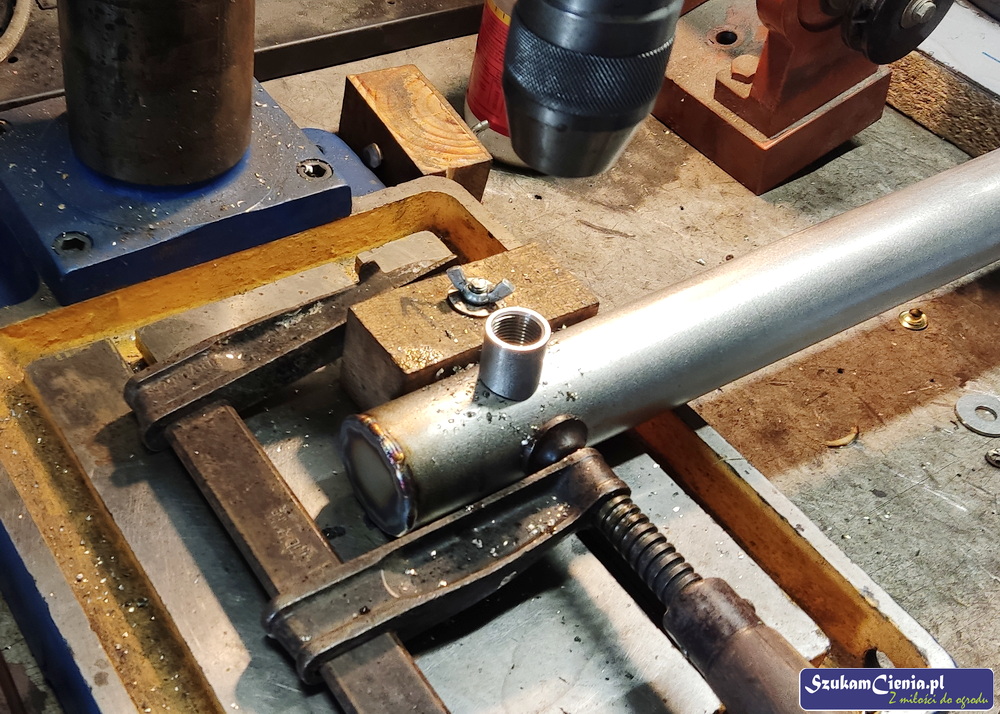
I initially tack-welded the fitting in several spots. Then, I protected the inside of the pipe with argon shielding and completed the final weld of the fitting. With the entire assembly ready, I screwed a plug into one fitting and attached a compressor connector to the other. I checked for leaks — everything was airtight! So, I proceeded to work on the external finish.
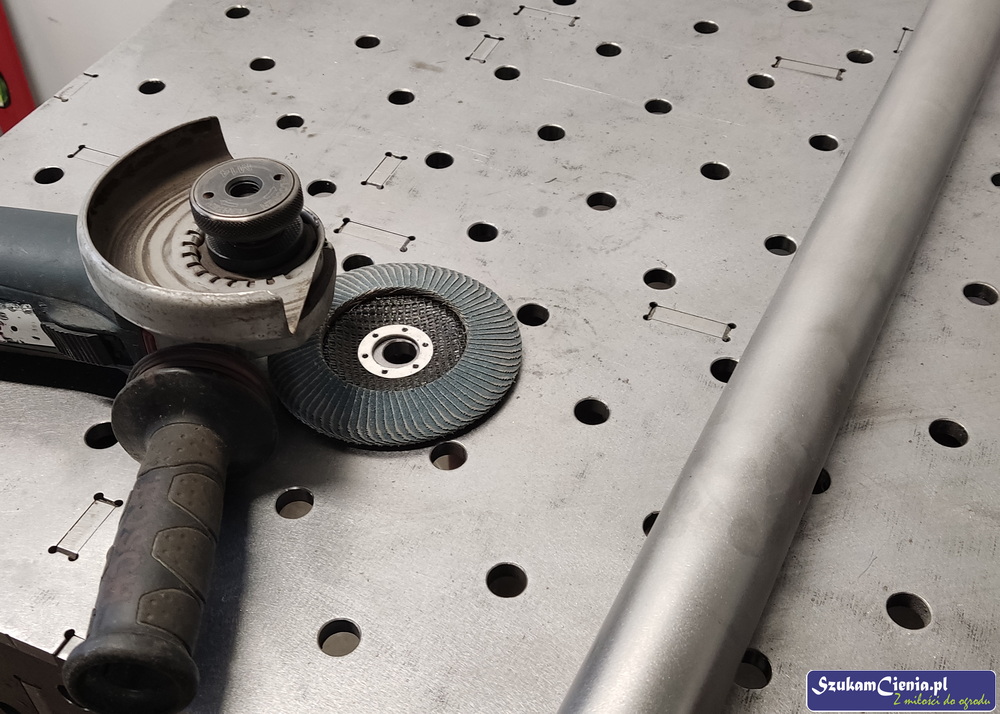
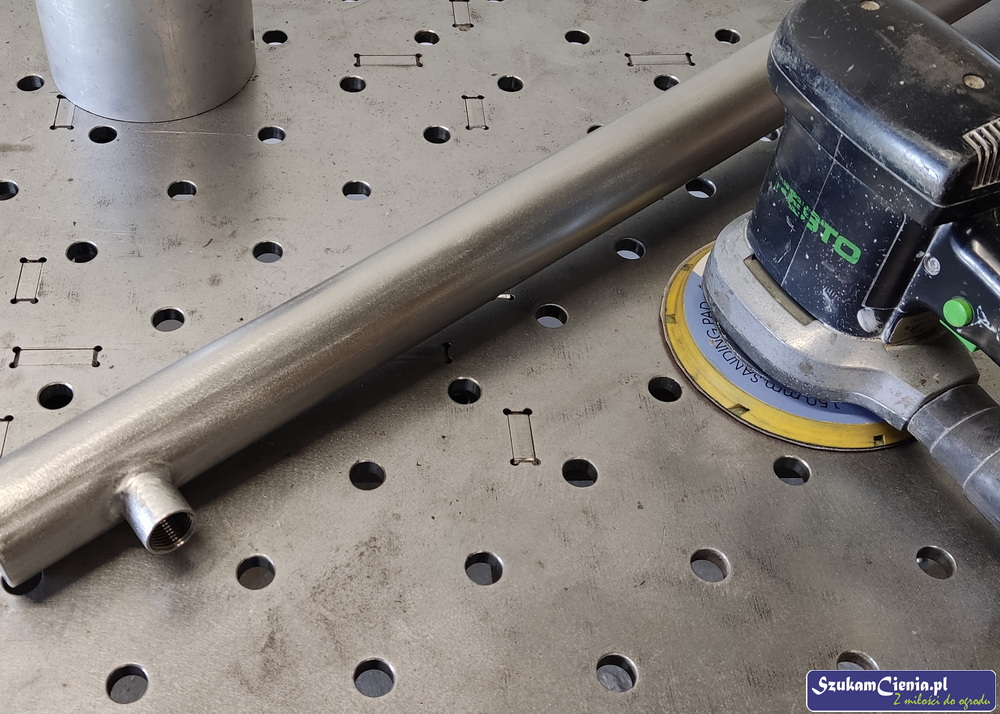
I grind the welds gradually, using sandpaper with grit sizes of 60, 100, and 120. Finally, to achieve smooth and uniform surfaces, I finish by polishing the entire assembly with an orbital sander.
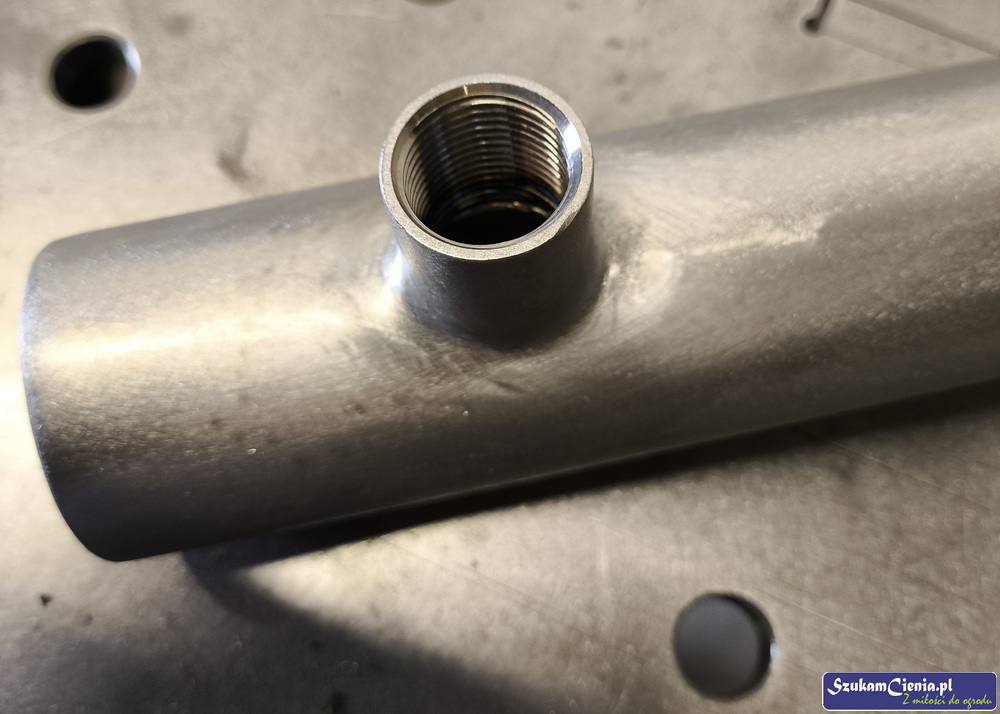
I treated the entire surface with stainless steel etching gel. This removes contaminants and evens out the surface finish. The process also helps restore the passive protective layer that guards the garden tap against corrosion. After etching, I thoroughly rinse the surface with water and then set the pipe aside to dry completely.
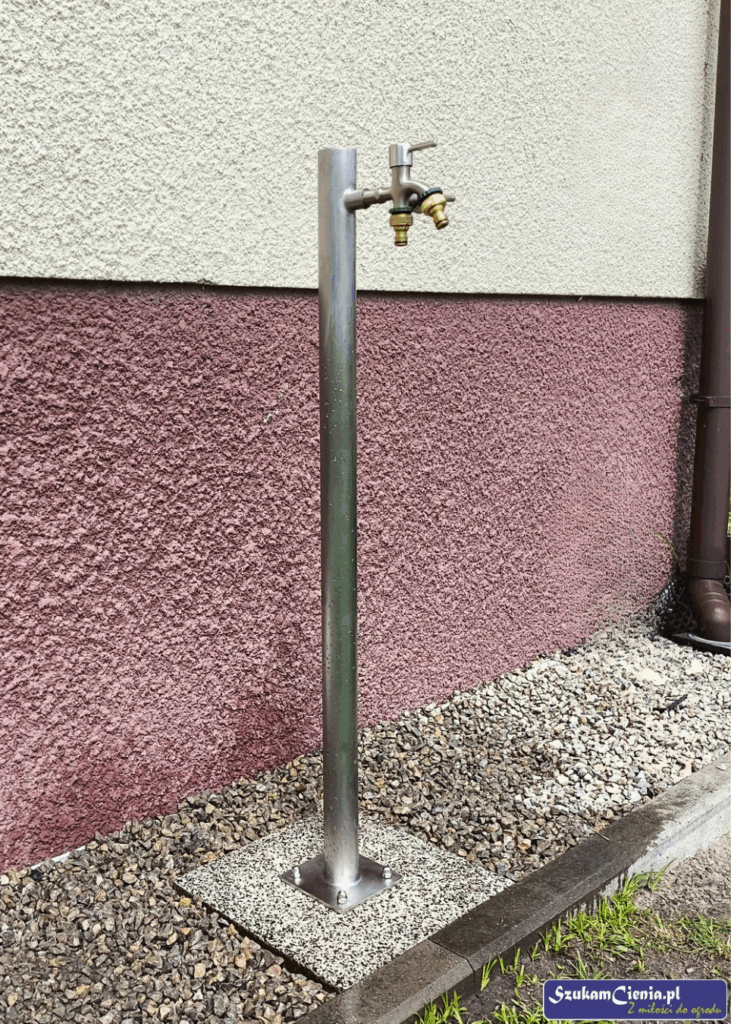
The patio slab serves as the base for the garden tap. Its weight ensures stability since the tap won’t be wall-mounted but connected to a plastic PE pipe.
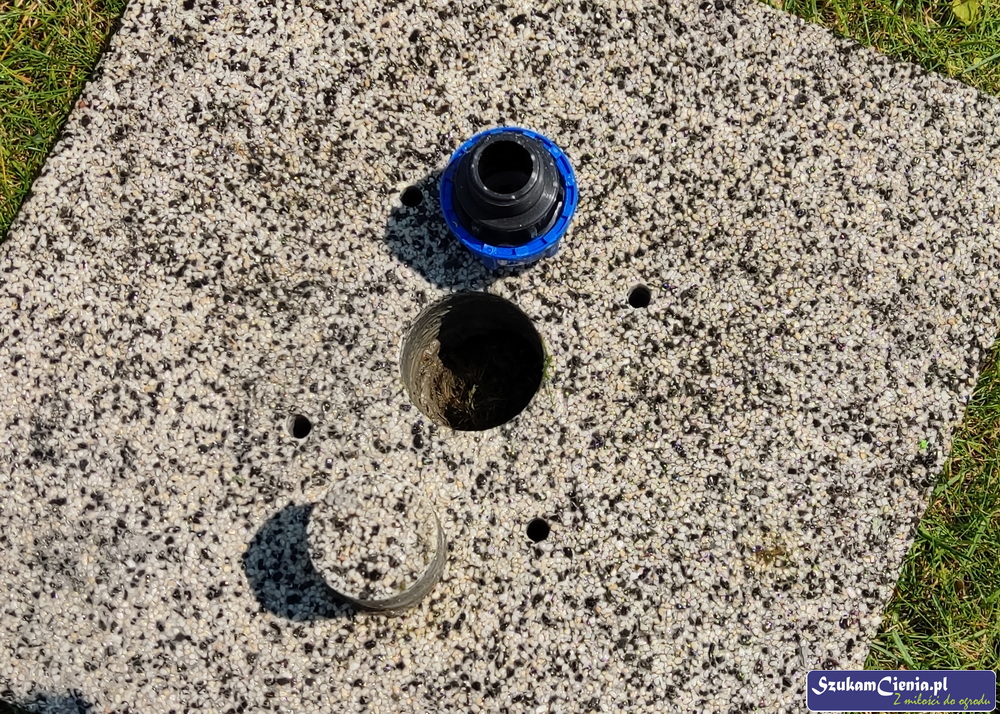
I preliminarily marked the mounting holes and the water inlet hole on the slab.

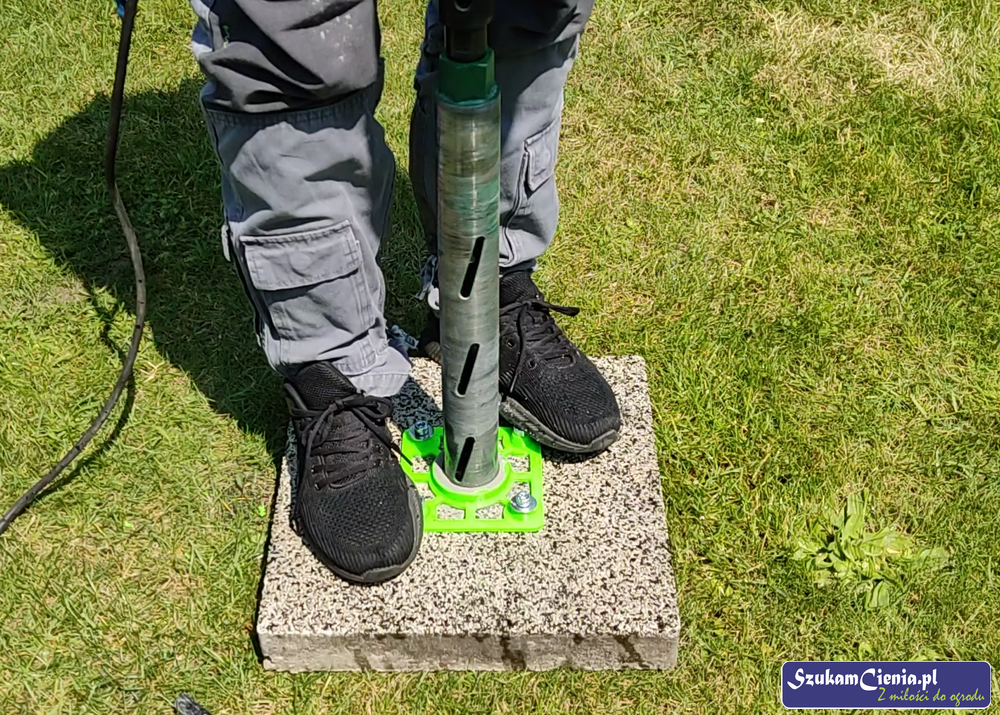
I positioned the tap base on the patio slab, then marked and drilled two 8 mm holes for the mounting screws. To make the next steps easier, my husband designed and printed a gauge that served as a template for drilling the remaining holes, including the most important central one. This hole needed to be large enough to fit the PE25 fitting, so I used a 51 mm hole saw. The gauge helped precisely align the tool and maintain direction at the start of drilling. Since dust quickly clogged the hole saw teeth, I regularly flushed and cooled the drilling area with water.
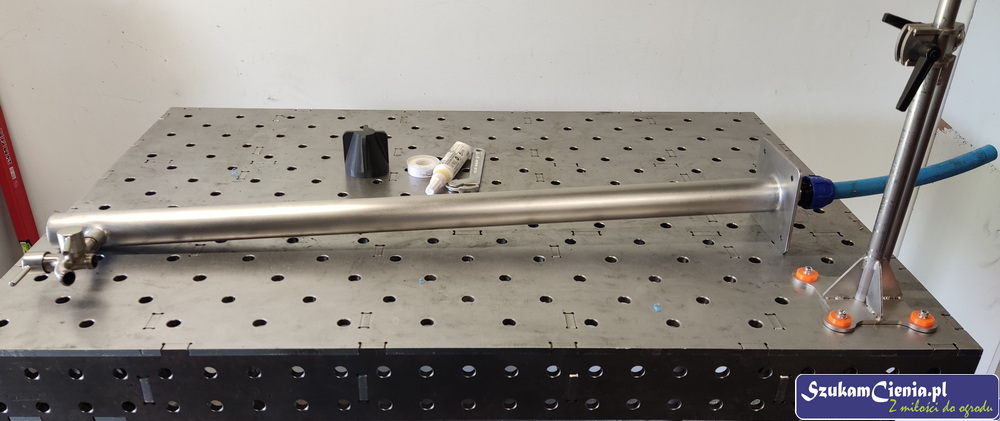
After the pipe had fully dried, I polished the surface using abrasive scouring pads.
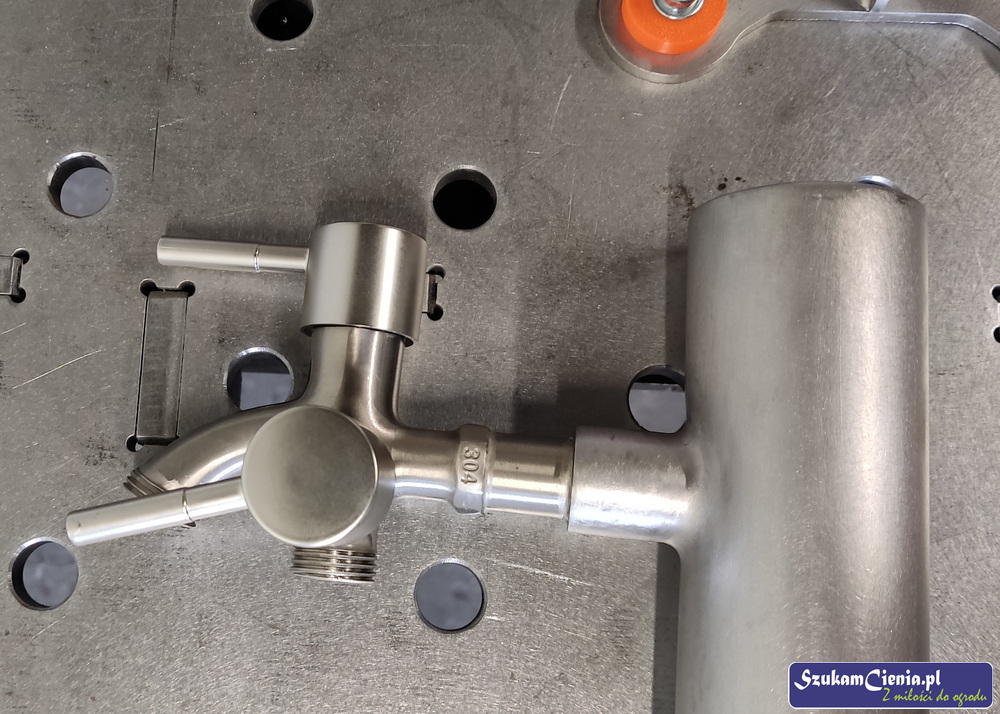
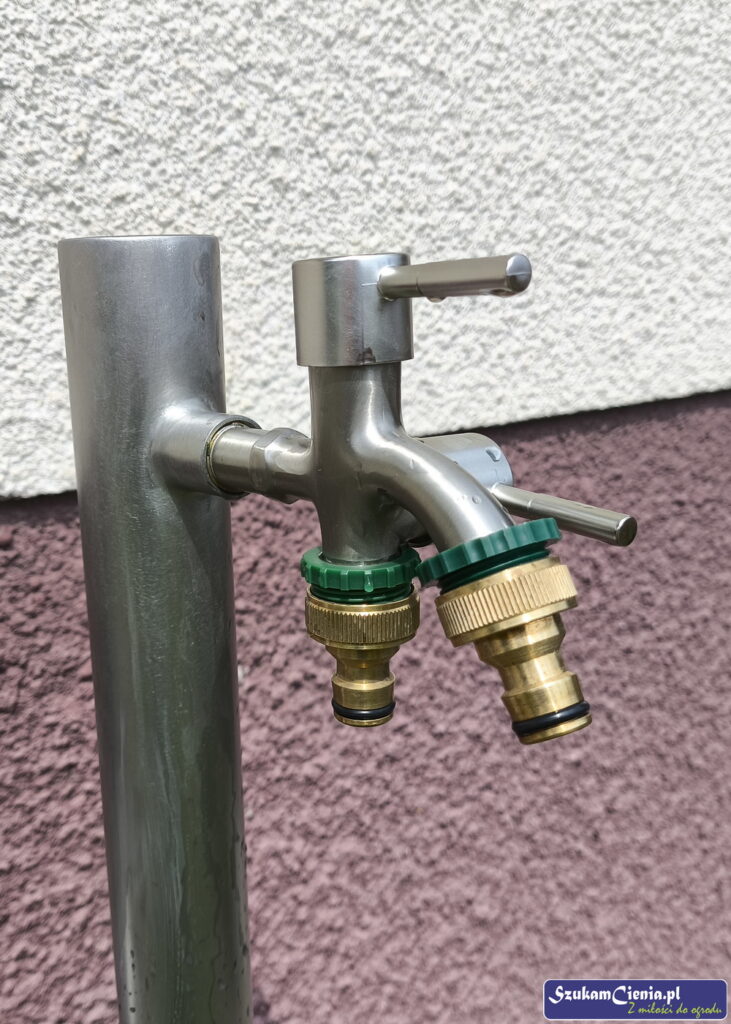
I installed the bib valve by applying an appropriate amount of thread adhesive to the threads and then screwing it in. For both aesthetic and practical reasons, I opted out of using hemp packing or PTFE tape—the adhesive effectively sealed and secured the valve while remaining invisible.
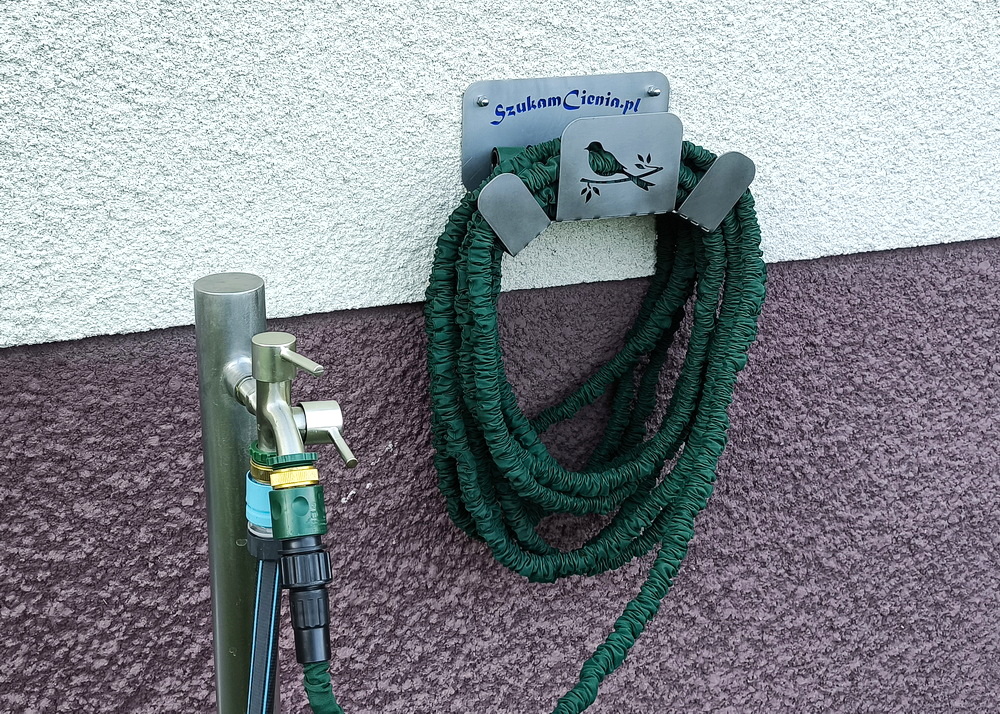
I chose a valve with two outlets. I permanently connected a garden hose to one outlet, leaving the other free for filling watering cans, rinsing hands, or cleaning tools.
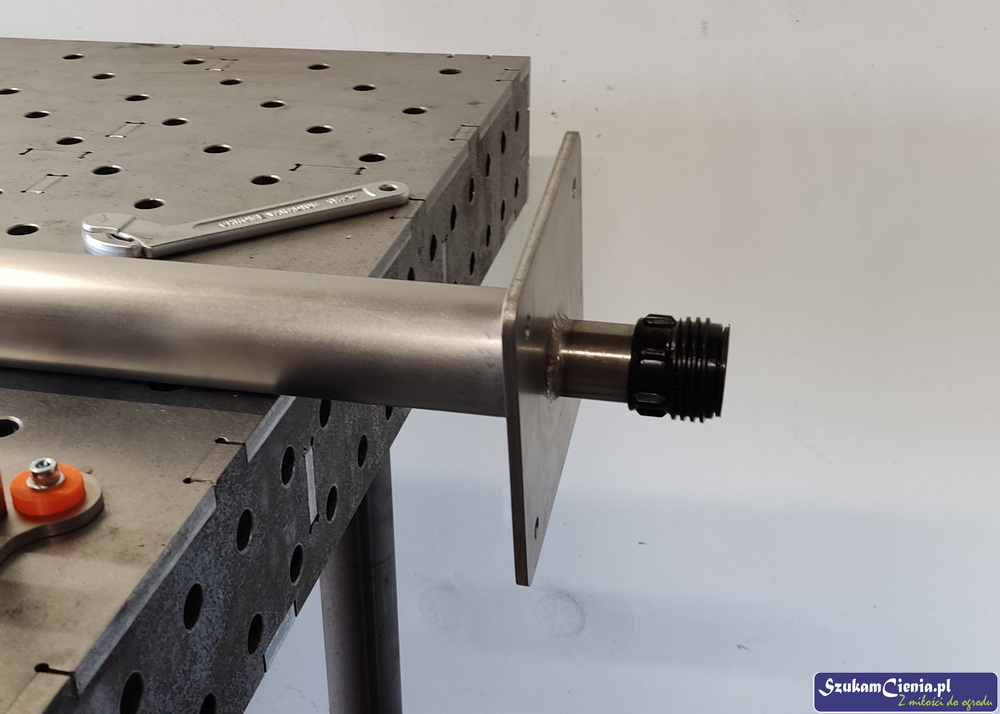
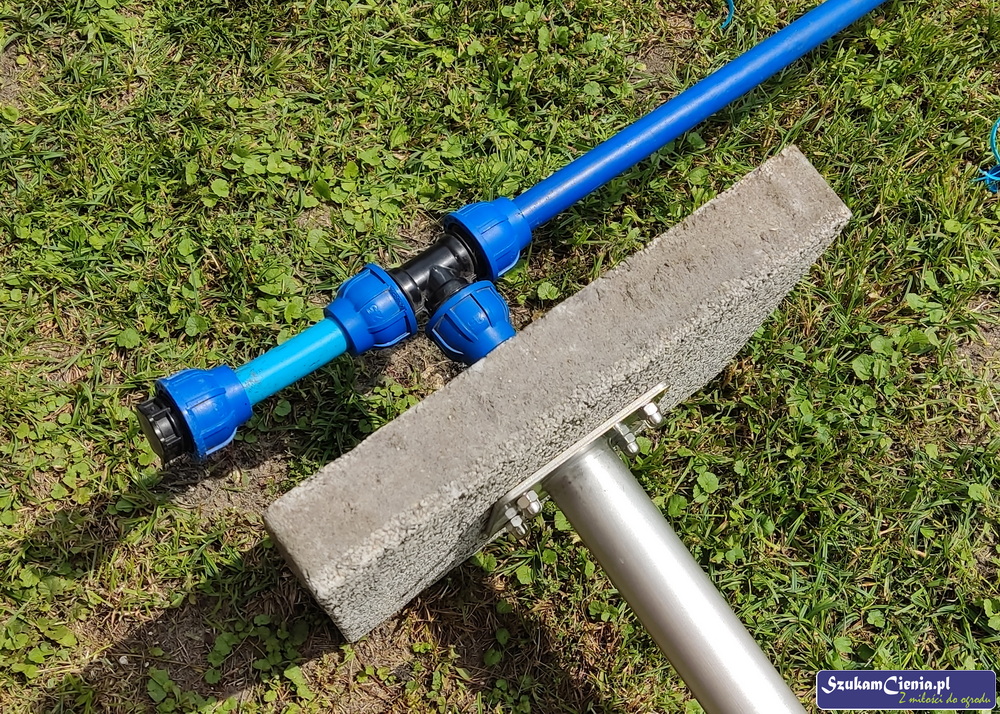
I screwed the fitting into the PE pipe, sealing the connection with PTFE tape. Then, I chamfered the edges of the PE pipe, fitted it onto the end of the fitting, and tightened it.
It’s worth doing this before attaching it to the slab because the fitting barely protrudes at all!
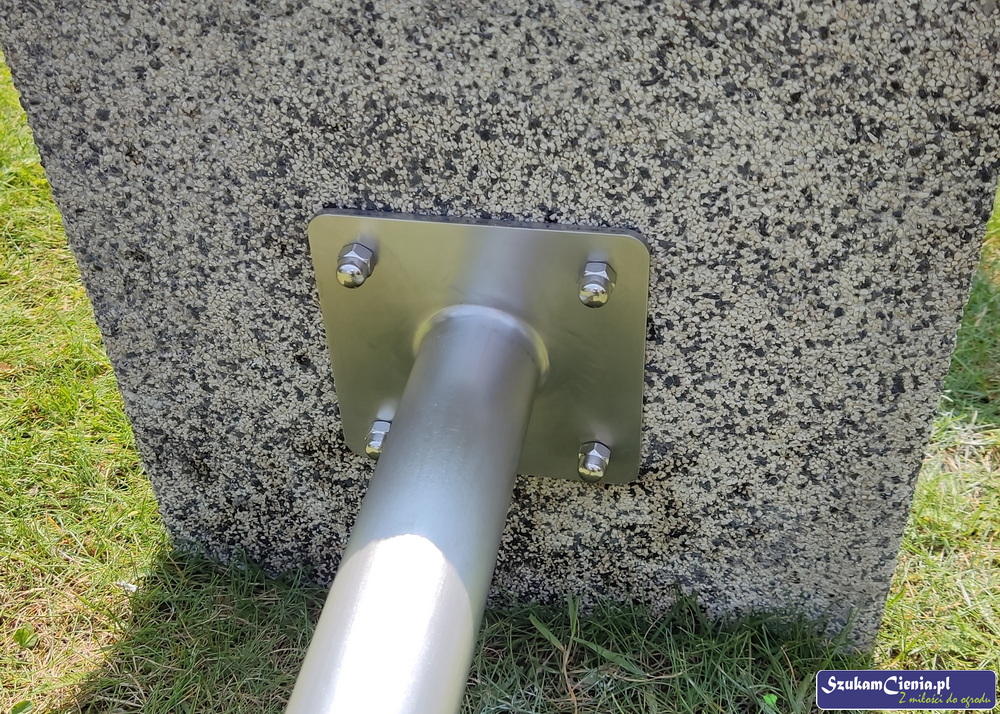
I secured the tap base to the patio slab using carriage bolts and dome nuts. The bolts are, of course, stainless steel as well.
I prepared the site for the garden tap by adjusting the length of the vertical pipe section. Then, I installed a tee fitting to allow for future expansion of the system and connected the water supply to it.
The installation was buried shallowly below ground level. This was possible because I always drain the system and blow it out with compressed air at the end of the season (in October or November). Leaving water in the pipes over winter could cause freezing and damage the entire structure.
Finally, I connected the garden tap to the existing water system. From that point on, water was available exactly where I needed it, significantly simplifying and speeding up the daily watering of plants.
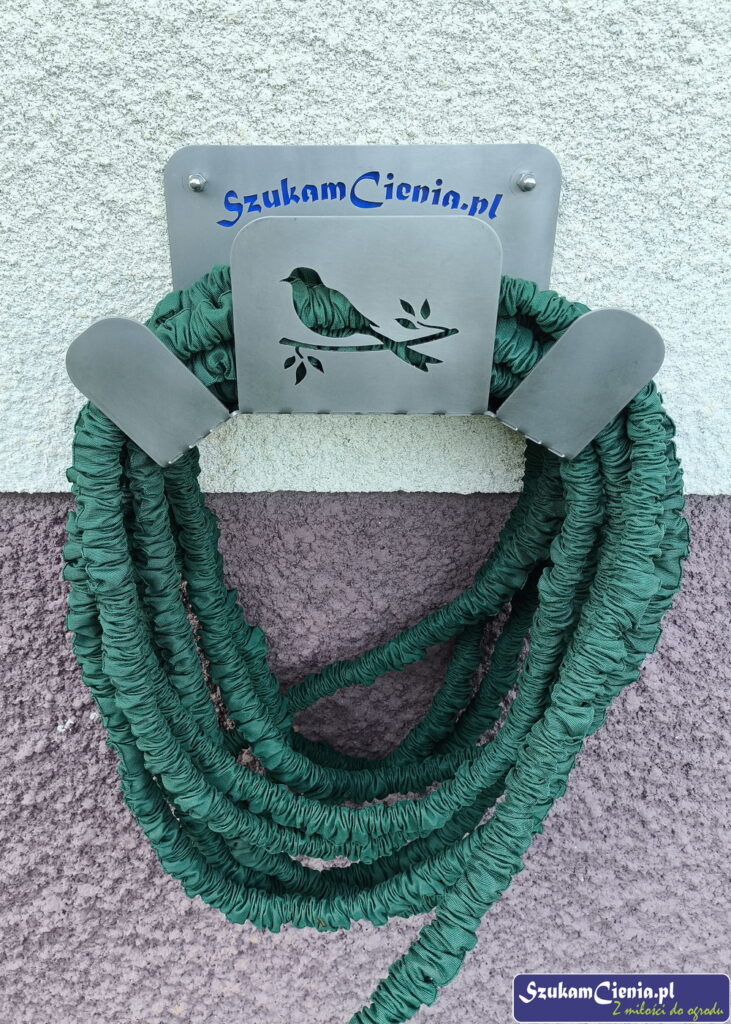
Next to the tap, I installed a garden hose hanger—now everything is within reach and the hose no longer gets tangled underfoot. A small addition, but a huge convenience during watering!
Also check out…
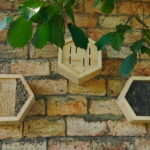
- How to build an insect hotel in your garden?
- Bird bistro: Simple and elegant idea for bird feeding.

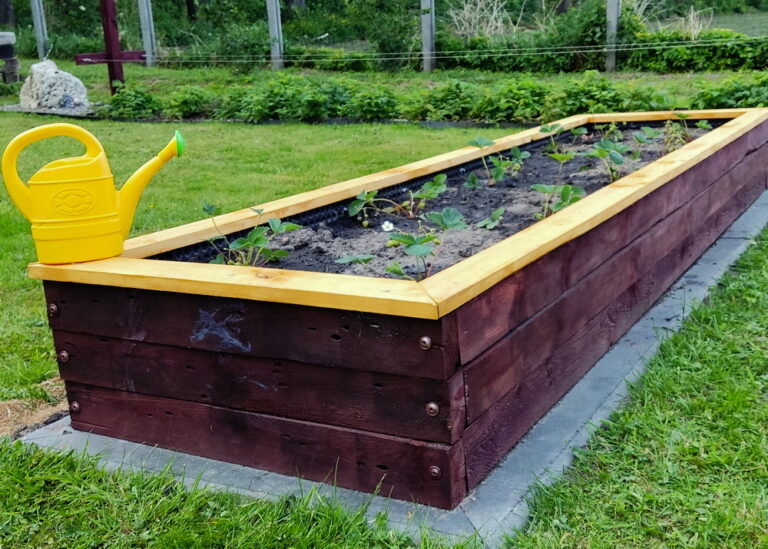
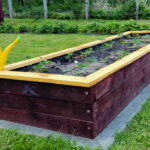
- Recovered treasures: How to build raised beds from materials after renovation?
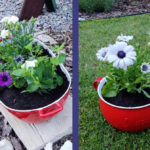
- From kitchen to garden! Transform old pots into flower-filled planters!
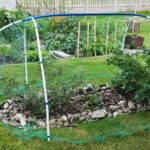
- My custom protective net – An effective barrier against birds
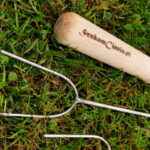
- How to make sausage forks in 8 steps?